tl;dr: I created an open-source german word card deck (115 cards) for word games like Broad Lines or Just One. You can see the results in the last chapter. On GitHub you can find the repository of the word cards including the print-and-play file.
Showcase: Front Back

Introduction
At the SPIEL‘23 in Essen1 we played a game called Broad Lines and really enjoyed it. Basically it is a cooperative party game where a guesser picks a word from a card and tries to guess it. Of course, the guesser is not allowed to see the front of the card. They simply chooses one of the six words on a card by saying a number between one and six. Going clockwise around the table, the other players can draw two lines or a curve with a marker on transparent sheets. The sheets are stacked on a stand. After each sheet the guesser can guess the word.
The only problem is that there are no german word cards available for Broad Lines, so it is not playable for people who do not know English.
So I thought it would be cool to create my own general german word game cards. I used the Ruby library Squib to create the printable word game cards.
Creating a dataset
For my cards I needed a lot of german words that are easy to draw.
category_id,word1,word2,word3,word4,word5,word6
1,Bauch,Trampolin,Schornstein,Feder,Diamant,Zahn
2,Löwe,Delfin,Panda,Giraffe,Pinguin,Tiger
3,Stollen,Mandarine,Esel,Nüsse,Spekulatius,Spritzgebäck
4,Fun Facts,Gaia Project,Geistesblitz,Gutenberg,Hadrianswall,Hallertau
5,Auto,Bett,Trinkglas,Computer,Tastatur,Gabel
6,Baguette,Honig,Tomate,Zwiebel,Knoblauch,Salz
I chose this CSV structure because each line in the CSV represents a card, and each card belongs to exactly one category and contains six words.
With a lot of help from family and friends, I created a CSV file with 720 words in seven different categories. These categories are displayed on the back of the cards to make it a little bit easier for the guesser - but this also allowed me to use more difficult words.
I chose the following categories:
- General
- Animals
- Christmas
- Board Games
- Everyday objects
- Food & Drink
- Family
Disclaimer: For privacy reasons the category
Familyis removed from the open source card deck. And in some categories likeChristmasandEveryday objectsI have changed some words. For this reason, the published card deck contains only 115 cards instead of 120.
In retrospect, it would have made more sense to use different categories in some cases, since “General” and “Everyday objects” overlap a lot.
Then I had to find designs and assets that I could use to create my cards.
Finding Designs & Assets
I wanted a unique front and backside design for the cards. I found a free service with no account required, that generates SVG backgrounds for free: Haikei. I really like Haikei, because you can choose between different presets and then change them to your liking.
After some tweaking, I took these designs: Front design Back design

I wanted each category to have its own icon, so I searched and found them at game-icons.net. This service is really nice, because it provides a wide collection of free to use (open source) icons in the SVG format. It even provides a simple browser editor to change the color and background of the icon or add text or a badge to an icon.
Here is a selection of the icons I chose:
Category: General Category: Animal Category: Food & Drink


All icons are listed at the end under Thank you / Credits > Icons.
Create printable cards with Squib and RAKE
Squib is a Ruby DSL2 for creating card and board games. I have never worked with Ruby before, but it was really nice to work with.
RAKE is a Make-like program implemented in Ruby.
RAKE - Ruby Make
I learned how useful the Make-like tool is in Ruby.
I used it to achieve a few things:
- check for duplicates
- shuffle the words in a category
- create the deck
In the Rakefile it looks like this:
require 'squib'

task default: [:check_duplicates, :shuffle_words, :deck]

task :check_duplicates do
  load 'check_duplicates.rb'
end

task :shuffle_words do
  load 'shuffle_words.rb'
end

task :deck do
  load 'deck.rb'
end
By default the rake command runs all tasks. If you only want to run just the deck generation, you can run it with rake deck.
Since there is a possibility that I came up with the same word twice while brainstorming, it is an important task to check for duplicates, because I did not want to have the same word on different cards.
While I was brainstorming the different words for a category, one idea usually triggered another idea and so on. To prevent all the words on a card from being somehow logically related, I decided to shuffle all the words inside each category.
Furthermore the task shuffle_words adds three empty lines after every set of three lines of words. The shuffled_words.csv file looks like this:
category_id,word1,word2,word3,word4,word5,word6
2,Adler,Gorilla,Panda,Nashorn,Pferd,Krokodil
2,Pfau,Elefant,Aal,Frosch,Schnecke,Käfer
2,Wal,Delfin,Biene,Maulwurf,Hai,Nilpferd


2,Hase,Walross,Kamel,Giraffe,Kugelfisch,Erdmännchen
2,Oktopus,Stachelschwein,Seestern,Tukan,Marienkäfer,Skorpion
2,Seepferdchen,Huhn,Känguru,Schaf,Schmetterling,Spinne


...
Since six cards fit on one A4 sheet of paper in two rows with three cards each and I wanted to fold the A4 sheet of paper in the middle to create the cards, I decided to add the empty lines. By doing so, I generated a PDF file with the front of the cards in the first row and the backsides with category icons in the second row.
Squib
Using Squib is a very easy way to create card decks.
I hacked something together using my assets and the shuffled_words.csv file.
require 'squib'

# Load the shuffled words
data = Squib.csv(file: 'shuffled_words.csv')

Squib::Deck.new(cards: data['category_id'].size + 1) do
  # Front side and text at the top row
  svg file: 'assets/frontside.svg', x: 35, y: 35, width: width - 35 * 2, height: height - 35 * 2, range: (0..data['category_id'].size).select { |num| num % 6 < 3 }

  # Add text for each word on the front side
  (0..5).each do |j|
    rect y: 112.5 + (700 / 6 + 40) * j, x: (width / 2) - (width * 0.7 / 2), height: 700 / 6, width: width * 0.70, fill_color: '#00121d', radius: 5, range: (0..data['category_id'].size).select { |num| num % 6 < 3 }
    text str: data["word#{j + 1}"], font: 'Grundschrift weight=900 16', color: :white,
         y: 137.5 + (700 / 6 + 40) * j, x: (width / 2) - (width * 0.7 / 2), width: width * 0.70, align: :center, range: (0..data['category_id'].size).select { |num| num % 6 < 3 }
  end

  # Back side at the bottom row
  svg file: 'assets/backside.svg', width: :deck, height: :deck, range: (0..data['category_id'].size).select { |num| num % 6 > 2 }

  # Different background colors for the category icons
  colors = ['#5363E7', '#4B733E', '#BF3D3B', '#D8862E', '#808080', '#B9AB00', '#B0578D']

  # Place category icon on the back side
  (1..7).each do |k|
    color = colors[k - 1]

    # Add a circle for the icon
    circle x: width / 2, y: height / 2, radius: 200, fill_color: color, stroke_width: 0,
      range: (0..data['category_id'].size).select { |num| data['category_id'][num - 3] == k }

    # Add category icon
    svg file: "assets/#{k}.svg", x: (width - 300) / 2, y: (height - 300) / 2, height: 300, width: 300,
      range: (0..data['category_id'].size).select { |num| data['category_id'][num - 3] == k }
  end

  # cut_zone stroke_color: :purple, radius: 0
  # safe_zone stroke_color: :green, radius: 0
  save_pdf file: 'deck.pdf'
end
Now I will break down the code step by step.
Import Squib Library and loading the words
At first I imported the Squib library and then loaded the shuffled words.
require 'squib'

# Load the shuffled words
data = Squib.csv(file: 'shuffled_words.csv')
Creating the card deck
Next, I initalized a Squib deck with the number of cards equal to the size of lines in the shuffled_words.csv plus one.
Squib::Deck.new(cards: data['category_id'].size + 1) do
Front
  # Front side and text at the top row
  svg file: 'assets/frontside.svg', x: 35, y: 35, width: width - 35 * 2, height: height - 35 * 2, range: (0..data['category_id'].size).select { |num| num % 6 < 3 }
At first I placed the SVG file at x: 35, y: 35. I made the front slightly smaller, to make it easier to align the front and back of the cards. With the range value: (0..data['category_id'].size).select { |num| num % 6 < 3 } I ensured that the front only gets placed in the top row, since only three cards fit into one row on an A4 sheet of paper.
I don’t know if there is a better way to do that, but this approach worked for me.
  # Add text for each word on the front side
  (0..5).each do |j|
    rect y: 112.5 + (700 / 6 + 40) * j, x: (width / 2) - (width * 0.7 / 2), height: 700 / 6, width: width * 0.70, fill_color: '#00121d', radius: 5, range: (0..data['category_id'].size).select { |num| num % 6 < 3 }
    text str: data["word#{j + 1}"], font: 'Grundschrift weight=900 16', color: :white,
         y: 137.5 + (700 / 6 + 40) * j, x: (width / 2) - (width * 0.7 / 2), width: width * 0.70, align: :center, range: (0..data['category_id'].size).select { |num| num % 6 < 3 }
  end
Then with the help of a loop I first added a rectangle and then the text string on top of it to add the words to the cards. Here I had to work again with the range parameter.
To have the six words on one card underneath each other I multiplied the value (700 / 6 + 40) by j, which is the current word count (0 up to 5), and assigned it to the y-position.
At the end I had a row of three cards on the top.
An example front: Front
Back
  # Back side at the bottom row
  svg file: 'assets/backside.svg', width: :deck, height: :deck, range: (0..data['category_id'].size).select { |num| num % 6 > 2 }
Here I placed the backside.svg file for the cards in the bottom row - with the range parameter again, but I adjusted the select filtering to num % 6 > 2.
  # Different background colors for the category icons
  colors = ['#5363E7', '#4B733E', '#BF3D3B', '#D8862E', '#808080', '#B9AB00', '#B0578D']
I wanted a colored circle in the middle of the back card. Ontop of it, the icon of the category should be placed. Each category has its own color. Here the colors are getting defined as a hex value for each category. The first (zeroth) hex color value is for the first category and so on.
  # Place category icon on the back side
  (1..7).each do |k|
    color = colors[k - 1]

    # Add a circle for the icon
    circle x: width / 2, y: height / 2, radius: 200, fill_color: color, stroke_width: 0,
      range: (0..data['category_id'].size).select { |num| data['category_id'][num - 3] == k }

    # Add category icon
    svg file: "assets/#{k}.svg", x: (width - 300) / 2, y: (height - 300) / 2, height: 300, width: 300,
      range: (0..data['category_id'].size).select { |num| data['category_id'][num - 3] == k }
  end
Here I iterate through each category from one to seven. The color of the current category is set by getting it out of the array defined earlier.
Then I added a circle for the icon in the middle of the card. With the range parameter and the filtering, I only put the colored circle to the backsides, that belong to the current category. After the last run, all backs have their category icon including the colored circle.
An example back:

Back
The icons on the back are rotated by 180 degrees because I made sure that the front and back are aligned when folding the paper in the middle. This folding process rotates the backside by 180 degrees, which corrects its orientation.
Saving the Deck as a PDF
  # cut_zone stroke_color: :purple, radius: 0
  # safe_zone stroke_color: :green, radius: 0
  save_pdf file: 'deck.pdf'
For debugging I had the
cut_zoneandsafe_zonein my code. You can read up on these in the Squib documentation.
With the last step, the whole deck is saved in the _output-directory as the PDF file deck.pdf.
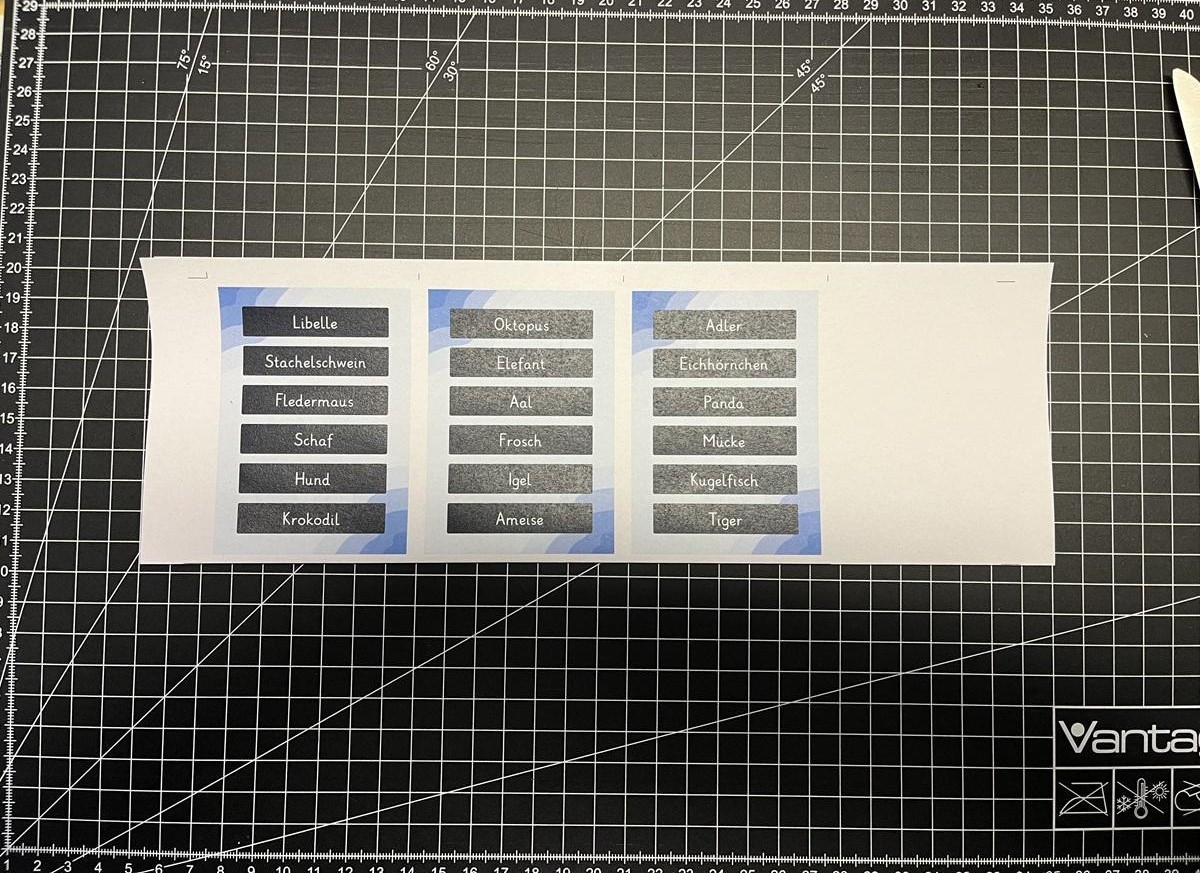
Example deck page: Example deck page
The code I wrote is a bit hacky and has a little bug in it, so it ends up generating some extra blank cards - this is because of the Deck initialization of lines of the shuffled-words.csv plus one, but I can not delete it, because then I run into an outside of deck range error. So I left the plus one in my code and it works for my purpose.
I also could have used the “Squib’s Best Feature”: Layouts. But for this project my approach worked well enough.
And that’s it - 39 lines including comments to generate the deck of cards.
Print & Make
Basically, I followed the How To Make Game Cards that Shuffle - Print and Play Tutorial by Rachel Bruner. I will try to explain each step below, but I really recommend that you watch the tutorial if you want to make game cards yourself.
What do you need?
- spray glue
- acrylic spray
- paper: A4 80 g/m²
- laminating sheets
- laminating machine
- paper cutting machine
- corner cutter
- printer
Making the cards
1. Printing the deck
I printed the deck.pdf file several times to have a backup in case I made a mistake (Spoiler: I did need the backup).
2. Spraying acrylic over the sheets of paper
To achieve a nice feel, you will want to spray acrylic over the paper sheets. I recommend doing this in a well-ventilated room or outside. I used my girlfriend’s family’s garage. The acrylic spray had to dry for about 15-30 minutes. Because there was so much paper and limited table space, I had to repeat this process a few times to spray all the sheets.
I also recommend letting the papers dry overnight - otherwise the smell will stick to the cards for a while.
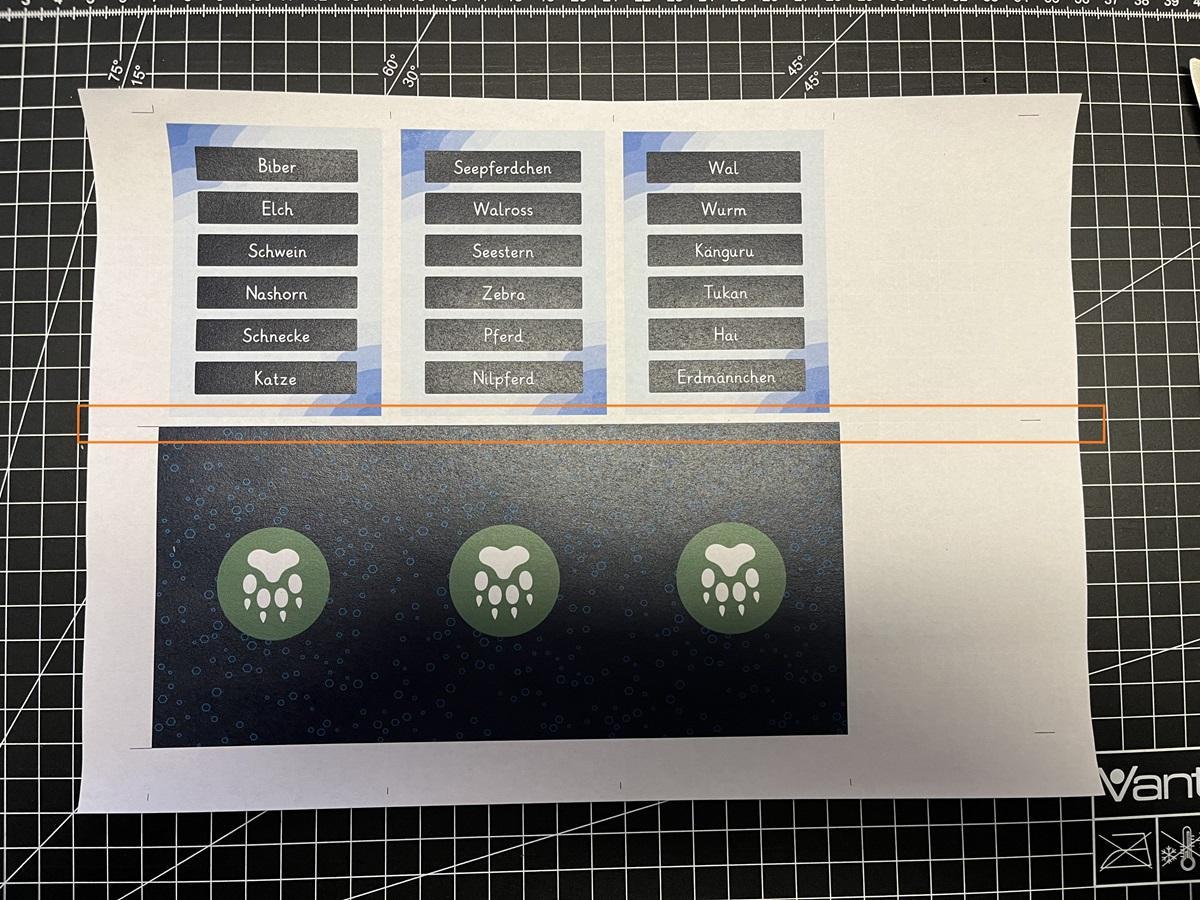
3. Folding the papers so that the front matches the back of the cards
Once everything is dry, you need to fold the sheets of paper to line up the front and back of the cards. This was really easy because I made the back slightly larger than the front - so I had a bit of flexibility and the paper did not have to be folded perfectly.
I used a ruler and the back of a knife to crease the middle of the paper - to be able to fold the cards easily.
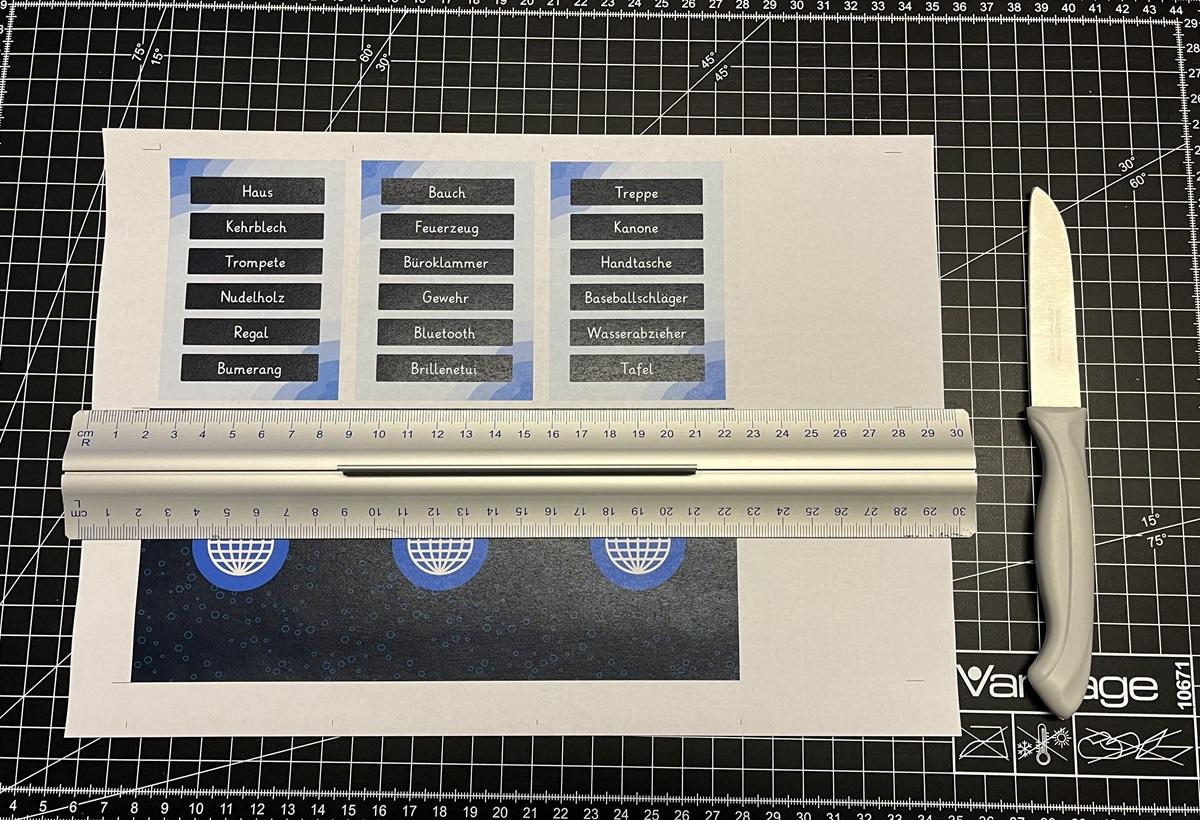
Crease the fold line with the back of the knife
Crease (zoom in to see it)
Folded paper
4. Spray glue on the inside
Spray glue on the inside of the paper
5. Put in a laminating sheet on the inside (as a core for the cards) and laminate it
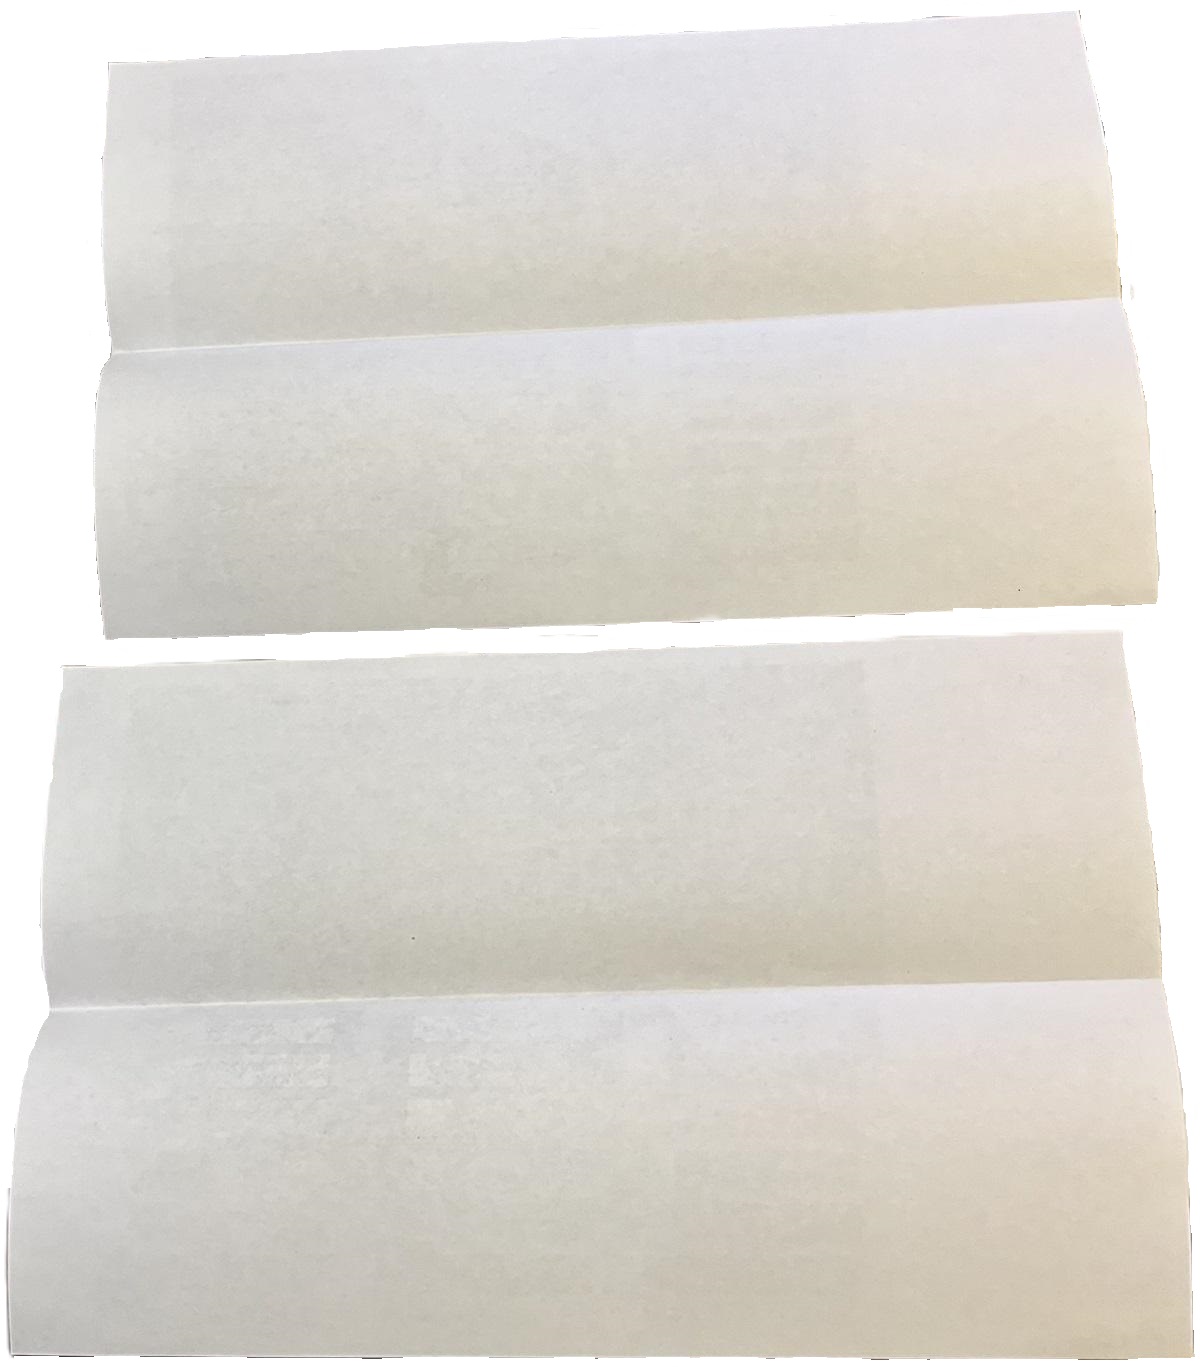
After the spray glue you should put one side of a laminating sheet in the folded paper. Because the A4 sheet of paper is folded you can put two sheets on one laminating sheet.
After this the tutorial suggests that you laminate it. I had problems with the ink when I laminated it later. I would suggest to laminate a normal laminate sheet before gluing it to the paper.
If you want to laminate it after gluing, you must cut the paper strips so that no laminating foil stands out, otherwise the foil will stick to the laminator. The paper strips are ready for laminating and cutting
Laminating: I had the problem that the laminating process smudged the ink from the cards. So I skipped that part, but I really suggest that you laminate your laminating sheets before you put them inside. If you do so, you can avoid this issue.
6. Cut the cards out with the help of a cutting machine
Because I designed the back of the cards to be slightly larger than the front, I did not have a single alignment issue. I simply cut out the cards from the front and the back fit perfectly.
A lot of cut cards. A single card

7. Round up the corners
As the last step I used a simple corner cutter (4mm) to round up the corners of the cards. Corner cutter Finished card

Mistakes / Learnings
I made a prototype of the cards with a printer from home before I printed the whole deck on a better printer. I had no problems with the prototype during the creation process. I was also able to slide the cards through the laminator without the ink forming streaks.
I should have also made a prototype with the better print quality, then I would have noticed the problem with the ink beforehand and could have laminated the laminating sheets before gluing them in as a core.
Open Sourcing the card deck
The repository is available on GitHub: https://github.com/markusdick/german-word-card-deck
License
The code is licensed under the MIT License. The german wordlist is licensed under the CC BY-SA 4.0 DEED.
Usage
You can use my repository to generate your own card deck. Everything is explained in the README. Basically, you have to clone my repository, install all dependencies and create your own word dataset. And then you can generate your own word card game using the rake command.
Conclusion
And now we have our own deck of cards. 🎉
The project was easier than I thought overall. It can be divided into two sub-projects:
- creating the print and play cards with Squib
- making the physical cards
It was quite hard to find many drawable words and it took me about 15-20 hours to create the physical cards.
In this project I learned how to design my own (yet simple) deck of cards. I found useful resources to help me visualize my ideas. I learned a little bit about Ruby, its build system and the DSL Squib - still learning, but I got the job done using them. After crafting the card deck it is a joy to hold my own cards in my hands. I am really surprised by the quality of the cards.
Finished Cards
Picture of the deck Picture of the backsides of some cards Picture of the fronts of some cards


Thanks to / Credits
- Family ❤️ (especially for Achim’s help) for brainstorming words, designs, crafting and proof reading
Tools / Tutorials
- Squib by Andy Meneely
- How To Make Game Cards that Shuffle - Print and Play Tutorial by Rachel Bruner
- Haikei by z creative labs
Icons
All icons are from game-icons.net.
| Category | Icon / URL | By | License |
|---|---|---|---|
| General | | delapouite | CC BY 3.0 |
| Animals | | lorc | CC BY 3.0 |
| Christmas |  | delapouite | CC BY 3.0 |
| Board Games |  | delapouite | CC BY 3.0 |
| Everyday objects |  | delapouite | CC BY 3.0 |
| Food & Drink | | delapouite | CC BY 3.0 |
| Family |  | lorc | CC BY 3.0 |
Font
The project uses the font “Grundschrift” by Christian Urff under the CC BY 3.0.
Links
- [1] https://github.com/markusdick/german-word-card-deck
- [2] https://github.com/markusdick/german-word-card-deck/releases
- [3] https://en.wikipedia.org/wiki/Spiel
- [4] https://boardgamegeek.com/boardgame/379395/broad-lines
- [5] https://app.haikei.app/
- [6] https://game-icons.net/
- [7] https://squib.rocks
- [8] https://en.wikipedia.org/wiki/Domain-specific_language
- [9] https://ruby.github.io/rake/
- [10] https://en.wikipedia.org/wiki/Make_
- [11] https://squib.readthedocs.io/en/v0.19.0/bleed.html
- [12] https://squib.readthedocs.io/en/v0.19.0/layouts.html
- [13] https://www.youtube.com/watch?v=DgNJmAkO1_M
- [14] https://github.com/markusdick/german-word-card-deck/LICENSE
- [15] https://github.com/markusdick/german-word-card-deck/words.csv
- [16] https://creativecommons.org/licenses/by-sa/4.0/deed
- [17] https://game-icons.net/1x1/delapouite/wireframe-globe.html
- [18] https://delapouite.com/
- [19] https://creativecommons.org/licenses/by/3.0/
- [20] https://game-icons.net/1x1/lorc/flat-paw-print.html
- [21] https://lorcblog.blogspot.com/
- [22] https://game-icons.net/1x1/delapouite/present.html
- [23] https://game-icons.net/1x1/delapouite/rolling-dices.html
- [24] https://game-icons.net/1x1/delapouite/house-keys.html
- [25] https://game-icons.net/1x1/delapouite/french-fries.html
- [26] https://game-icons.net/1x1/lorc/two-shadows.html
- [27] https://www.urff.info/